From Bare Metal to CI/CD Pipeline: Building a Full DevOps Homelab with Proxmox VE
Introduction If you've ever wanted a complete DevOps lab at home, you're in the right place. With just a single bare-metal PC, you can simulate.
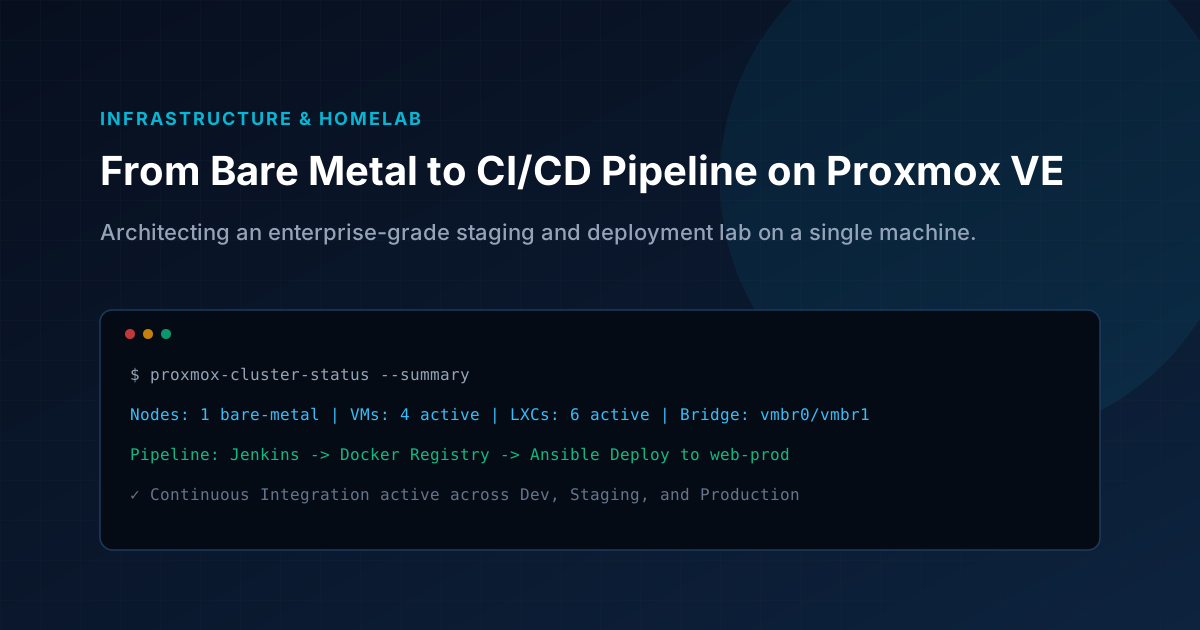
Key Architecture Takeaways
- Dedicate at least 50% of bare-metal RAM directly for virtual machine and container allocations.
- Separate public traffic on vmbr0 from secure internal inter-VM communications on vmbr1.
- Orchestrate multi-tier environments across Dev, Staging, and Production with Jenkins and Ansible.
- Terminate TLS at an Nginx reverse proxy with automated Let's Encrypt certificates.
🚀 Introduction
If you've ever wanted a complete DevOps lab at home, you're in the right place. With just a single bare-metal PC, you can simulate an enterprise-grade infrastructure using Proxmox VE, a few VMs or containers, and some powerful automation tools like Ansible and Jenkins.
In this post, I’ll show you how to build a scalable, flexible lab environment with multiple Linux distros, CI/CD pipelines, cloud integrations, and separate environments for Dev, Staging, and Production.
🧱 Hardware and Lab Setup
🖥️ Host Machine Specs
-
CPU: Quad-Core Intel
-
RAM: 32 GB DDR4
-
Storage: 512 GB SSD (you can scale as needed)
-
OS: Proxmox VE (latest version)
-
🛠️ Step 1: Install Proxmox VE
- Download Proxmox VE ISO:
https://www.proxmox.com/en/downloads - Create bootable USB: Use Balena Etcher or Rufus.
- Install on bare metal: During install, dedicate at least 50% of RAM for VM use.
- Access the web UI:
https://your-proxmox-ip:8006
🧱 Step 2: Proxmox Networking & Storage Setup
-
Create Linux Bridge (vmbr0) for internet access
-
Optional: Add internal-only bridge (vmbr1) for secure intra-VM traffic
-
Use ZFS or LVM for better VM snapshot support
-
🧪 Step 3: Spin Up VMs/CTs (Linux Distributions)
| Name | OS | Role | Notes |
|---|---|---|---|
| mgmt-node | Ubuntu 22 | Ansible, Jenkins | Central Control Host |
| web-dev | Ubuntu 22 | Web Dev Env | Runs dev apps via Docker |
| web-stage | RHEL 9 | Staging Env | Test builds here |
| web-prod | RHEL 9 | Production | Load-balanced, secure |
| db-server | Ubuntu 22 | DB Server | PostgreSQL or MySQL |
| proxy-lb | Ubuntu 22 | NGINX Load Balancer | SSL + reverse proxy |
You can use cloud-init templates for rapid provisioning.
🤖 Step 4: Automation with Ansible
Install Ansible on mgmt-node:
sudo apt update && sudo apt install ansible -y
```text

# Inventory Example:

```ini
[web]
web-dev ansible_host=192.168.1.101
web-stage ansible_host=192.168.1.102
web-prod ansible_host=192.168.1.103

[db]
db-server ansible_host=192.168.1.104
```text

# Playbook Example:

```yaml
- name: Install NGINX on web servers
  hosts: web
  become: yes
  tasks:
    - name: Install NGINX
      apt:
        name: nginx
        state: present
```text

# Run It:

```bash
ansible-playbook install-nginx.yml
```text

* *

# Install Jenkins on `mgmt-node`:

```bash
curl -fsSL https://pkg.jenkins.io/debian/jenkins.io-2023.key | \
  sudo tee /usr/share/keyrings/jenkins-keyring.asc > /dev/null

echo deb [signed-by=/usr/share/keyrings/jenkins-keyring.asc] \
  https://pkg.jenkins.io/debian binary/ | \
  sudo tee /etc/apt/sources.list.d/jenkins.list > /dev/null

sudo apt update
sudo apt install jenkins -y
```text

**Access Jenkins UI:**
`http://mgmt-node-ip:8080`

**Create Pipelines:**

*   Build app
*   Run tests
*   Push Docker image to private registry
*   Deploy using Ansible

* *

🐳 Step 6: Containerize Your App


# Dockerfile Example (Node.js):

```dockerfile
FROM node:18
WORKDIR /app
COPY . .
RUN npm install
CMD ["npm", "start"]
```text

**Push to Docker Registry** (or set up your own on Proxmox)

* *

☁️ Optional: Cloud Integration


*   Use **Terraform** to spin up AWS EC2 or Azure VMs
*   Use **Ansible** to provision and configure
*   Set up **Jenkins** to deploy app from Proxmox to AWS staging or prod

* *

🌐 Step 7: Load Balancing with NGINX


```nginx
upstream webapp {
    server 192.168.1.101;
    server 192.168.1.102;
}

server {
    listen 80;
    server_name yourdomain.com;

    location / {
        proxy_pass http://webapp;
        proxy_set_header Host $host;
    }
}
```text

Add **SSL with Let's Encrypt** using Certbot.

* *

🔁 Environments: Dev, Staging, Prod


*   **Dev (`web-dev`)**: Auto-deploy on Git push (CI only)
*   **Staging (`web-stage`)**: Deploy on merge to `main` branch
*   **Prod (`web-prod`)**: Manual approval + Ansible deploy

* *

📊 Step 8: Monitoring and Logging (Bonus)


*   Use **Prometheus + Grafana** on another container
*   Install **Node Exporter** on each VM
*   Use **Loki + Grafana** for central logging

* *

✅ Final Thoughts


With just a **single Proxmox host**, you’ve now built:

*   A full CI/CD pipeline
*   Multi-tier Linux infrastructure
*   Cloud-compatible deployment pipeline
*   Load balancing, monitoring, and staging workflows

You’re ready to take on real-world DevOps challenges — all from your homelab.

* *

💬 Questions?


Drop your comments or suggestions below. I'd love to hear how you’re building your own lab!
Production Runbooks & Architecture Notes
Monthly technical dispatches covering Linux VPS hardening, strict DMARC deliverability, Next.js optimization, and cloud operations. Zero sales fluff.