The Production Linux VPS Hardening Checklist: From Fresh Install to Battle-Ready
A pragmatic runbook for securing a new Debian 12 or Ubuntu 24.04 instance before exposing ports to the public internet.
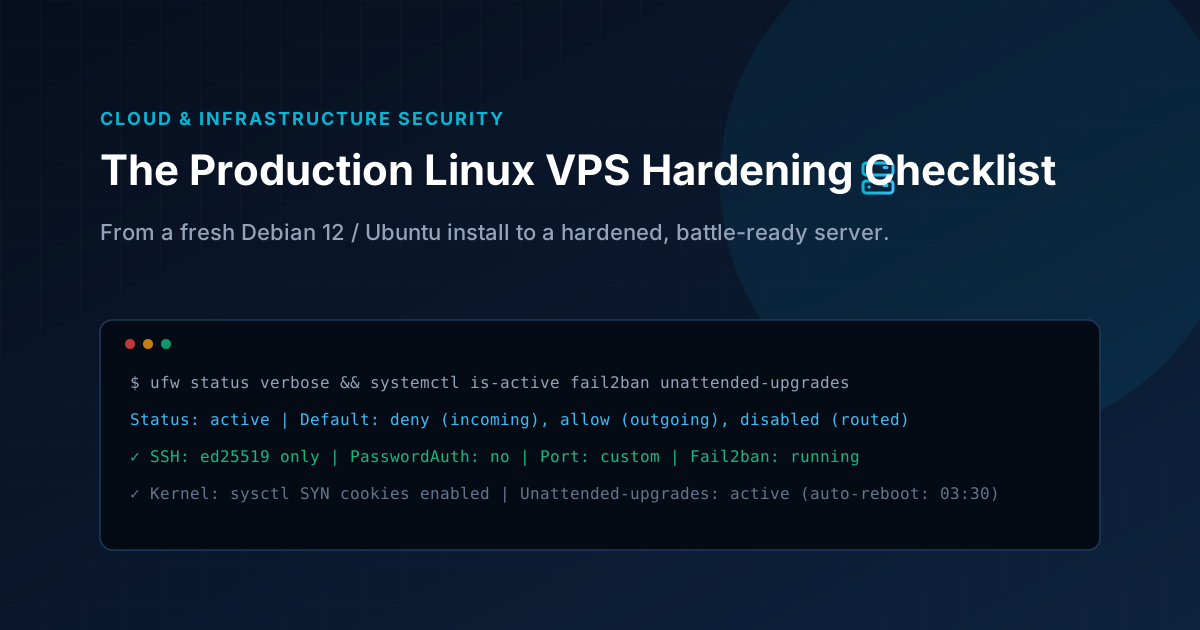
Key Architecture Takeaways
- Eliminate 99% of brute-force noise by disabling password authentication and moving the default SSH port.
- Enforcing strict default-deny firewall posture with UFW rate limiting.
- Configuring Fail2ban with escalating ban durations for repeated malicious login probes.
- Setting up automated unattended security upgrades with off-peak automated reboots.
What Happens in the First 15 Minutes of a Public IP
The second a cloud provider assigns an IPv4 address to your new VPS, automated port scanners around the globe begin probing it. If you tail /var/log/auth.log on a brand new Ubuntu or Debian machine with port 22 open, you will see hundreds of brute-force login attempts every hour targeting default accounts (root, admin, ubuntu, test).
Leaving default credentials or password authentication enabled on a production server is asking for a compromised host.
Here is the exact baseline hardening checklist we apply to every production Linux VPS before deploying application containers or databases.
1. Create a Non-Root User & Sudo Rights
Never use the root account for routine day-to-day operations or CI/CD deployments. Create a dedicated administrative user and grant it sudo privileges:
# Add administrative user
adduser deployer

# Grant sudo access
usermod -aG sudo deployer

# Copy your local ed25519 SSH public key to the new user
mkdir -p /home/deployer/.ssh
chmod 700 /home/deployer/.ssh
cp /root/.ssh/authorized_keys /home/deployer/.ssh/
chown -R deployer:deployer /home/deployer/.ssh
chmod 600 /home/deployer/.ssh/authorized_keys
Test logging in with your new deployer account in a separate terminal window before closing your root session.
2. Lock Down OpenSSH: No Passwords, Custom Port
Password authentication is the primary vector for brute-force compromise. Modern ed25519 SSH keys provide superior cryptographic security and resist automated dictionary attacks.
Edit /etc/ssh/sshd_config.d/99-hardening.conf:
# Change default port to reduce automated script noise by 95%
Port 2222

# Completely disable password authentication
PasswordAuthentication no
ChallengeResponseAuthentication no
KbdInteractiveAuthentication no

# Disable direct root login
PermitRootLogin no

# Only allow ed25519 and modern RSA keys
PubkeyAuthentication yes
AuthorizedKeysFile .ssh/authorized_keys

# Disconnect idle sessions after 10 minutes
ClientAliveInterval 300
ClientAliveCountMax 2

# Disable insecure X11 forwarding
X11Forwarding no
Test and reload the SSH service:
sshd -t && systemctl restart ssh
3. Strict Firewall Posture with UFW
A fundamental security principle is default-deny. Nothing should enter your server unless an explicit firewall rule permits it.
# Set baseline policies
ufw default deny incoming
ufw default allow outgoing

# Allow your custom SSH port (rate-limited)
ufw limit 2222/tcp comment 'Hardened SSH port with rate limiting'

# Allow standard web traffic
ufw allow 80/tcp comment 'HTTP traffic (Let's Encrypt / Redirects)'
ufw allow 443/tcp comment 'HTTPS web traffic'

# Enable firewall
ufw enable
ufw status verbose
ufw limit automatically rate-limits connections to your SSH port, denying IPs that attempt more than 6 connections within 30 seconds.
4. Automated Intrusion Prevention with Fail2ban
Even on a custom SSH port, persistent bots will eventually probe your endpoints. Fail2ban inspects system logs and dynamically writes temporary iptables/nftables ban rules for abusive IPs.
Install and configure Fail2ban:
apt-get update && apt-get install -y fail2ban
Create /etc/fail2ban/jail.local:
[DEFAULT]
bantime = 1h
findtime = 10m
maxretry = 5
backend = systemd

[sshd]
enabled = true
port = 2222
mode = aggressive
bantime.increment = true
bantime.factor = 2
bantime.increment = true ensures that repeat offenders face escalating ban durations—from 1 hour to 2 hours, then 4 hours, and up to several days.
5. Automated Security Patching with Unattended-Upgrades
Zero-day kernel and library vulnerabilities (like OpenSSL or glibc exploits) require rapid patching. You should not have to log into every VPS manually every morning to run apt upgrade.
apt-get install -y unattended-upgrades update-notifier-common
dpkg-reconfigure -plow unattended-upgrades
Configure /etc/apt/apt.conf.d/50unattended-upgrades:
Unattended-Upgrade::Allowed-Origins {
    "${distro_id}:${distro_codename}-security";
};

// Automatically remove unused kernel packages
Unattended-Upgrade::Remove-Unused-Kernel-Packages "true";
Unattended-Upgrade::Remove-Unused-Dependencies "true";

// Auto-reboot at 03:30 AM only if a kernel patch requires it
Unattended-Upgrade::Automatic-Reboot "true";
Unattended-Upgrade::Automatic-Reboot-Time "03:30";
This guarantees that security updates install automatically as soon as Debian or Ubuntu publishes them, while deferring necessary system reboots to off-peak hours.
6. Kernel Hardening with sysctl
Add these baseline networking and memory optimizations to /etc/sysctl.d/99-hardening.conf:
# Protect against SYN flood denial of service attacks
net.ipv4.tcp_syncookies = 1

# Ignore ICMP echo broadcasts (ping of death mitigation)
net.ipv4.icmp_echo_ignore_broadcasts = 1

# Disable IP packet forwarding (unless this node is a router/VPN gateway)
net.ipv4.ip_forward = 0

# Do not accept ICMP redirects (prevents MITM route poisoning)
net.ipv4.conf.all.accept_redirects = 0
net.ipv4.conf.default.accept_redirects = 0

# Reduce aggressive swapping to preserve SSD lifespan and latency
vm.swappiness = 10

# Increase maximum file descriptors for high-concurrency web traffic
fs.file-max = 2097152
Apply immediately without rebooting:
sysctl --system
Verification
Once completed, verify your posture from your local development machine:
# Verify port 22 is blocked
nc -zv <your-server-ip> 22

# Verify custom SSH port works
ssh -p 2222 deployer@<your-server-ip>
Taking 20 minutes to apply this baseline configuration eliminates over 99% of automated Internet noise, keeping your cloud instances stable, resilient, and secure.
Production Runbooks & Architecture Notes
Monthly technical dispatches covering Linux VPS hardening, strict DMARC deliverability, Next.js optimization, and cloud operations. Zero sales fluff.